Thursday, July 24, 2014

Time running out to get showcase tickets...


Hi!

I have been hand-selected by RAW:natural born artists to show my work at their next artist showcase in CANBERRA called COMMUNIQUE, but I need your help!

The event will be held at UNI Pub on Wednesday 30th July at 730pm. The event is 18+ and the dress code is cocktail attire.

I'm writing to you to ask for your support to be a part of this amazing event! Not only can this event help me network with other great local artists and expose me to 700+ attendees, it can help me expand nationally and even internationally as well.

Here's how:

RAW is providing me with a "Behind the Artist" video interview and footage of the event, as well as head shots and photos of my Display to help me to further promote myself independently.

I'll be eligible to win the RAW artist of the year award locally, and have an opportunity to compete against other city winners for the national title to showcase at the RAWards award show & ceremony.

AND I will have an opportunity to showcase again OUT-OF-STATE at any other RAW location of my choice (over 60+ cities globally)!

All I have to do is sell 20 tickets to help promote the event. Your support would be greatly appreciated. The tickets are only $15 and need to be sold by Sunday 26th July in order for me to participate. If you buy them from me you also save $5 because they go up to $20 at the door.

You can purchase tickets right from my RAW artist profile:
http://www.rawartists.org/canberra/communique/?artist=219582

If you are not available to attend that night, you can still purchase a ticket to support me and my work. This will open up a guest list spot for me to invite someone who can attend.

Additionally I'm offering $5 off my artwork for those that bought tickets through me.

So if you're in Canberra, or can make it to Canberra for the night, it would be great to see you!

Thank you so much for your support, I couldn't do this without you!


Saturday, July 12, 2014

Surreal drawing tutorial - Part 2 Rendering

Surreal Drawing Tutorial - The Cosmic Throne - Part 2


Step 5 Base Shading/colours


As I'm using sketchbook for this I'm using Warm and cool grays for this, and I usually start on the highlight points with the darkest colour, in this case a cool gray, and you'll notice that I started to add some basic shading on the main and secondary highlight areas to give myself an idea of where I wanted the light sources to be.  I then filled out warm and cool areas in their midtone range.

If you are following along traditionally, and using pencil for the shading then rather than filling the area with tone, I usually shade it starting from opposite the light source.  It doesn't matter too much about the highlight at this stage, but its a good idea to keep some there, as the eraser doesn't always restore the white of the paper.

Step 6 Rendering


I then go over the highlight areas and add the gradient and highlights, and add a light or dark area around those highlights to push them out more.  I then do the same over the rest of the image, trying to keep these areas as mid value as possible so that those highlights remain the most high contrast, with of course the main highlight the most contrasted.

Step 7 Polish


In this step I do all the finishing elements that help the piece, for this one I just added a shadow to one side of the shape to bring it out a little more, but its usually a good idea to also go over the lines again and make sure they are smooth and stand out.  You might want to add a background as well. 

Last thing to do is to sign the piece and its then ready to go :)

Hope you've enjoyed this brief tutorial , please drop me a message if you use it, I'd love to see your work.

Monday, July 7, 2014

Surreal drawing tutorial - Part 1 setup

Surreal Drawing Tutorial - The Cosmic Throne\


As I will be doing a number of these drawings for the RAW Artist showcase, I thought I would do up a quick tutorial of the workflow behind these drawings for those interested in doing their own.  I find these fun and interesting as its totally free expression.

Tickets are still available for the showcase in Canberra on July 30, if you are interested please follow the link below:
http://www.rawartists.org/canberra/communique/?artist=219582

I usually do this in a traditional method, using paper, pen, pencil and marker, but for ease of uploading I am doing this tutorial digitally within Autodesk Sketchbook pro copic edition which is free to download and use (Download link below) but you can follow along either traditionally, or in the drawing program of your choice, it shouldn't effect the workflow.


Step 1. Set intention and title

As we will be working with automatic drawing and the subconscious I find this is one of the most important steps in the process as it provides a more clarity for the peice.  What I like to do is when I am reading or looking through a book, I write down words or brief phrases which stand out to me.  That way when I want to work on a new piece I just pick one from the list.  For this one I have chosen "The Cosmic Throne", and I write that at the bottom corner of the page.

Step 2. Composition and Perspective

I never worried too much about perspective with these in the past, but now I enjoy considering it and drawing a few lines for these, even if I end up ignoring it, I find if nothing else it helps me with the composition.  While I find this step important for getting a good end result, it can be skipped if you just want to get onto the free drawing, and/or don't want the structure behind the drawing.  Sometimes I skip it but usually I'll do this stage if I'm looking at completing a finished artwork.

If you are not comfortable with composition and perspective, I recommend the CTRL Paint Video tutorials for getting more familar with the concepts.

Firstly I decide whether I will be using the whole page, or a smaller portion.   This determines whether I draw a horizon line or the framing shape that the drawing will fit into, in this case I am going for the whole page, so I determine where the horizon line will be and mark it out in either pencil or biro.

Then I determine the focal point, often this will also be a vanishing point for the piece so that everything flows to that point, but it depends on the piece.  I then draw some perspective lines from that point and then draw a circle to indictate that focal point.


I then like adding additional secondary focal points into the image to balance the image.

I then think about how I want the piece to flow, and draw in arrows or lines to indicate how I want the eye to move around the piece.


Step 3 Automatic Drawing

This step is a bit harder to explain, I like to start it by first taking a break, then when I sit down I take a deep breath and spend a few moments thinking about the title and theme of the piece, just letting the mind flow with it.  I then roughly scribble over the image, trying to follow the guide lines I set in the step before, but just letting the hand flow.   This should be very quick and rough, the idea is to let go of everything and pour everything onto the page.  Don't worry about how it looks at this stage, as we'll refine, this is about getting energy into the piece.  This may take some practice until you're comfortable about this and feel confident in the later steps to make the piece look better.

I usually do this in pen or marker, because I look at it as the subconscious imprint upon the page and that every mark has an importance so this avoids the temptation to erase.


Step 4 Line Refining

This step I fill out the linework, this is the stage the picture starts to become clearer, and I find that I often have the feeling of exploration, as I discover the shapes and forms starting to appear from what in step 3 just looks like a mess.

I tend to like black marker for this stage, but it depends on the piece, if I used biro for the above step, I might continue to use it, or I might go with a sepia or Sanguine pen

For this I'm using sketchbook copic so I'm using the Copic fine tip brush and the 110 Special black.

Now just trace the lines filling them out.


Its still most likely going to look like a mess of lines at this stage, but you should be able to see it starting to take form, and we will refine these shapes further in the next part...

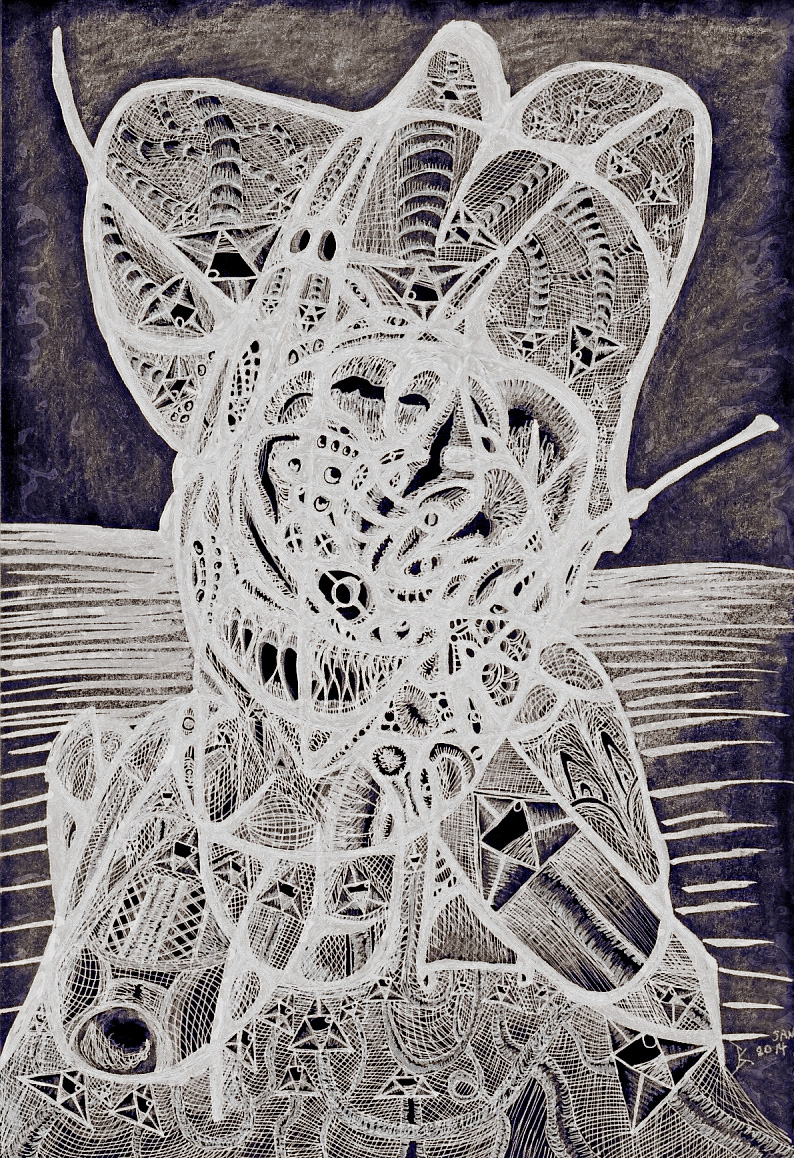
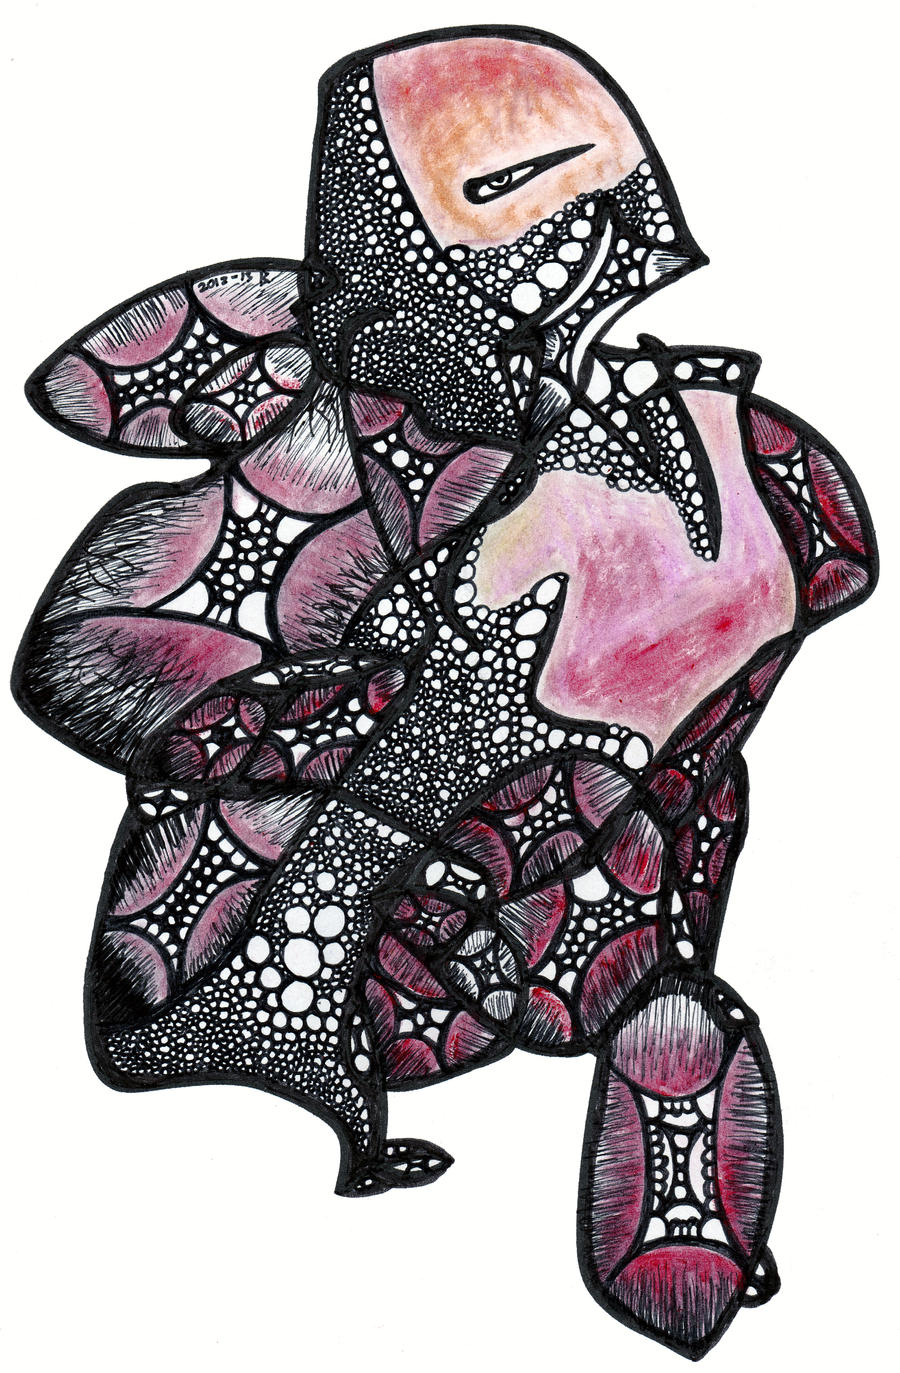
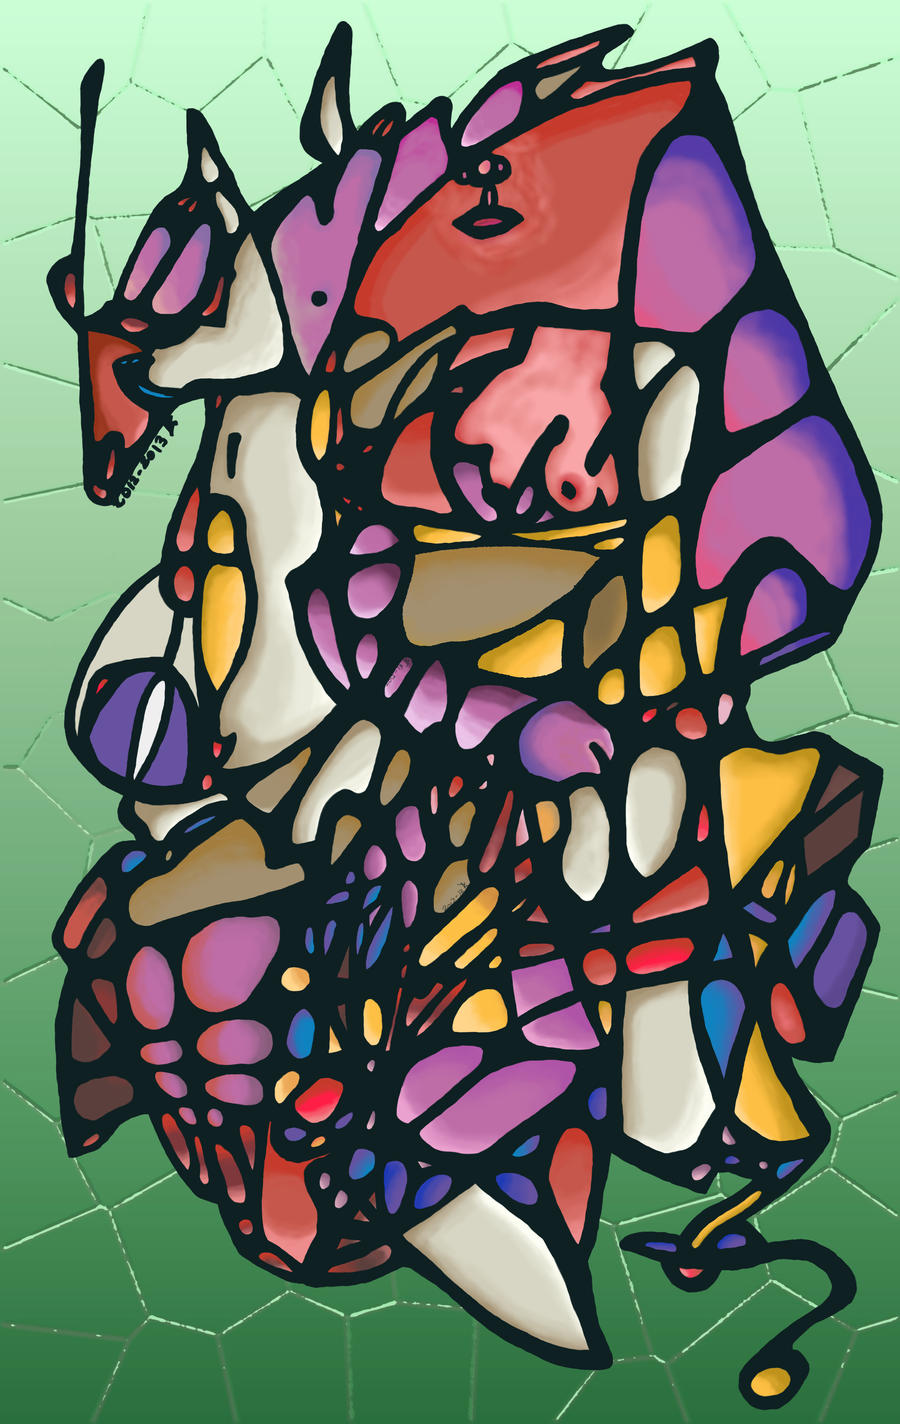
Here are some examples of past work I have done with various iterations of this method:


Tuesday, July 1, 2014

Prototyping Week 2 - Human Bowling

Week 2 we started working on a new game idea, this one was a ten pin bowling game, though the twist is that the player is an Alien and the pins and ball are humans.

My assets for this exercise were the Bowling alley, grinding machine, the human pins and a skydome:
The Bowling Alley:


I've been playing with a more alien themed textures for it but it hasn't really been working out for me:


The Grinder I repurposed part of the steam turbine I created for the Environment Assignment and rehoused it, I unwrapped to the texture map for the steam turbine to save time texturing:

This was the place holder for the grinder:


The human pins I created the pin costume, and then modified the base mesh from my character assignment, the head and hands from my character assignment.


The pins are going to rag doll so the rig only needed to be simple.

Yesterday I started work on The Sky dome:

I started out trying to do a skybox:
Back:
 Bottom:
 Front
 Left:
 Right:
 Top:
as you can see above I had started work to blend between the edges, but coming across a skydome tutorial online I decided that it would be easier for the short deadline for this exercise: